01What You Need
Gather all of it before you start. Most of the delays on a first install come down to a missing SIM or an unknown APN.
Tools
- Phillips screwdriver and an adjustable wrench for the mounting hardware.
- Multimeter to check voltage and current on the bench and at the vehicle.
- Bench power supply and its cable, for testing indoors before the screen goes outside.
- Windows laptop with a LAN cable or Wi-Fi, for LedOK Express.
- Cable ties, thread-locker, tape measure and a step stool or short ladder.
Parts and accounts
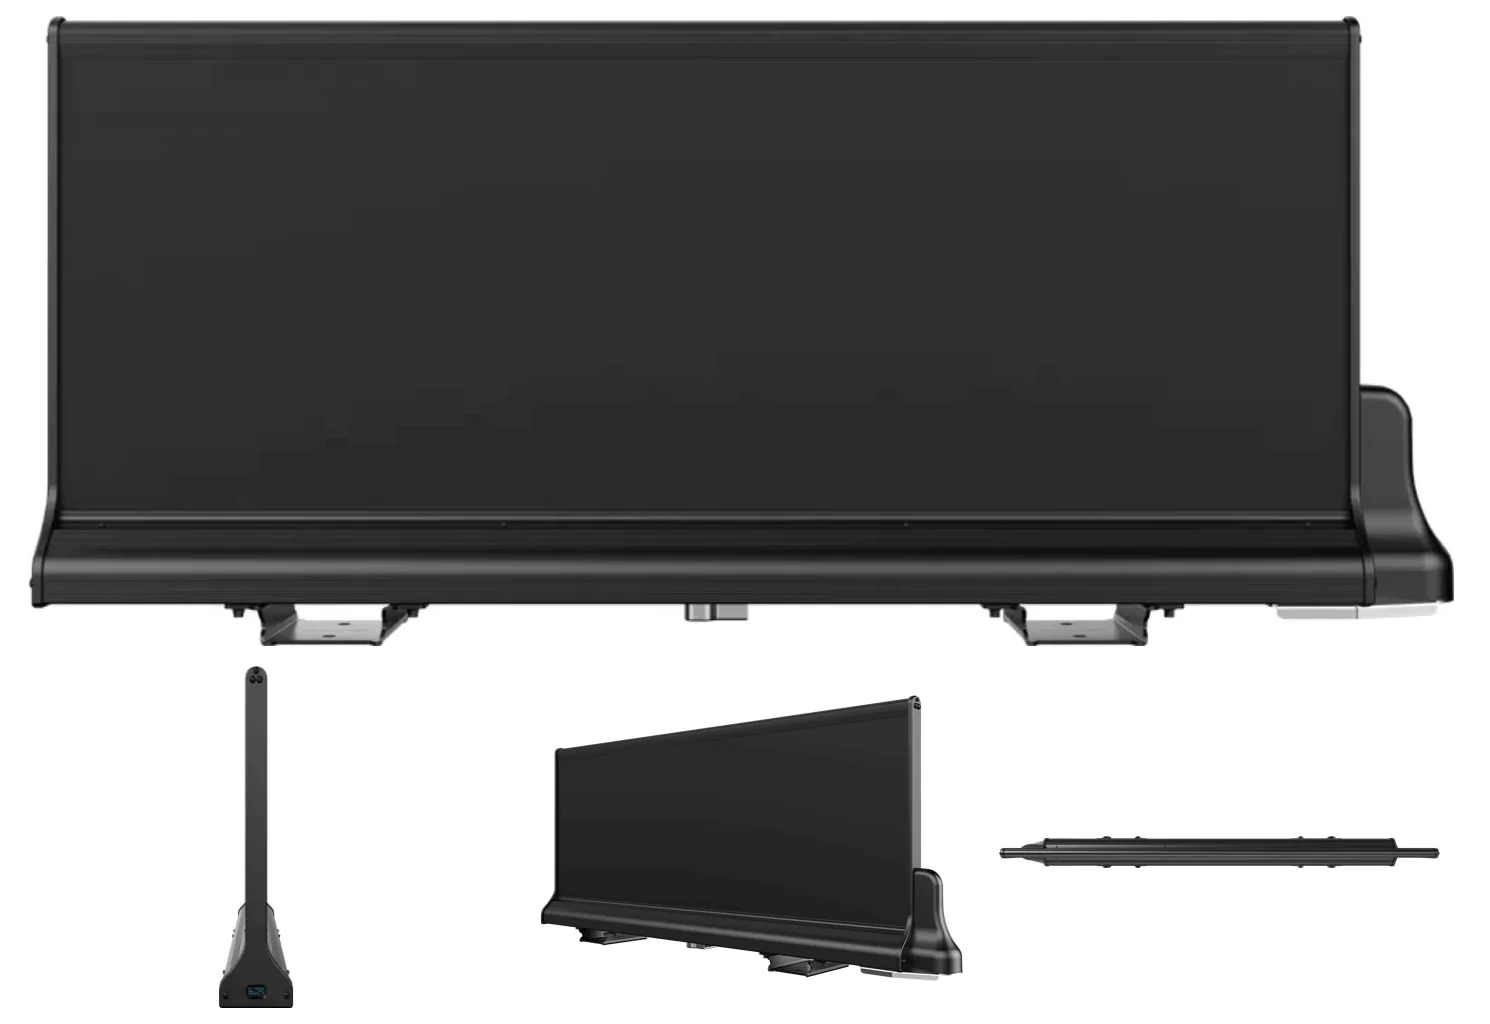
- The rooftop LED unit with its controller, harness and 4G antenna.
- An activated 4G SIM card (original size) with a data plan and a known APN.
- A platform account at vehhub.top. Sign up with an email and a password; you get a verification code by email at every login.
- LedOK Express on the laptop — download the installer.
- The taxiapp package — download the .zip. The current build downloads under the name VehPlayer — same player app, renamed by the vendor. Do not unpack it; LedOK installs the .zip as it is.
02Bench Test Indoors
Confirm the panel lights up and draws sane current before anything touches the vehicle.
- Connect the bench power supply to the power cable and tighten the terminals with the screwdriver.
- Connect the LED unit to the power cable. Check polarity before you switch anything on.
- Switch on the bench supply. The panel should light and show the default factory logo.
- Measure voltage and current at the supply and at the unit with the multimeter. Compare against the rating label on the unit.
- Leave it running for ten minutes. Look for dead modules, flicker, and anything getting hot that should not be.
03SIM Card and APN
The screen talks to the platform over 4G. No SIM, no remote content.
- Buy a local 4G SIM in original size. In the US, AT&T, T-Mobile and Mint all work.
- Put the SIM in a phone and activate the data service. Do this before it ever goes in the controller.
- Ask the operator whether the device IMEI has to be registered against the SIM. Some do require it.
- Get the APN from the operator and write it down. This is the single value that most often blocks a device from coming online.
- With the unit powered off, insert the SIM, then power the whole device back on.
04Install taxiapp on the Controller
The controller ships with a generic player app. Rooftop screens need taxiapp instead.
Connect LedOK Express to the controller
- Over the controller's hotspot: the network name is the card number, for example y08-623-01280. The default password is 12345678. Join it from the laptop.
- Over a LAN cable: laptop straight into the controller's LAN port. Turn the laptop firewall and antivirus off first, then in LedOK go to Terminals, run detect, confirm, and hit Refresh.
Set the server address and swap the app
- Open Terminal Control → Advanced and enter the password 888.
- Set Web Server Address to https://www.ledaips.com:2340.
- Open Check APK. If com.xixun.xixunplayer is listed, go to Firmware Management, select it, and Uninstall it. Binding will fail later if you skip this.
- In Firmware Management, select the taxiapp .zip you downloaded.
- Wait for APK Install Success. This message only means the file reached the controller. Nothing is installed yet.
- Now click Upgrade - the button sits just above. This is the step that actually flashes the app. Do not cut power while it installs.
- Open Check APK again and confirm the version has changed. If it still shows the old build, the upgrade did not apply - repeat from the previous step.
If you have not done this before, watch it once end to end: how to install the .apk.
05Bind the Screen to Your Account
Binding is done with a certificate file, not by typing a device ID into a web form.
- Log in at vehhub.top.
- Open the account menu at the top right and choose Download vehicle access certificate. You get a small .ic file named after your account.
- Back in LedOK Express, select the controller ID, click Bind ic account, pick that .ic file, and confirm.
06Turn On Cellular Data
Last bench step. Get a confirmed data connection here and the roof work becomes purely mechanical.
- In LedOK, open Terminal Control → Network Config.
- Tick Enable Cellular Data.
- Enter the APN. You can also pick Country ID (mcc) and then the carrier to fill it in automatically — but if your country is not listed, type the APN by hand.
- Click Set.
- Click Get cellular network status information and read the result.
You are looking for Signal: OK and Data connection status: Connected, with a real signal strength value rather than a string of numbers. If the status says Not in service area, the signal is too weak — move the unit near a window, outdoors, or higher up and check again.
07Mount on the Roof
Mechanical work. Nothing here is reversible in traffic, so take the extra five minutes.
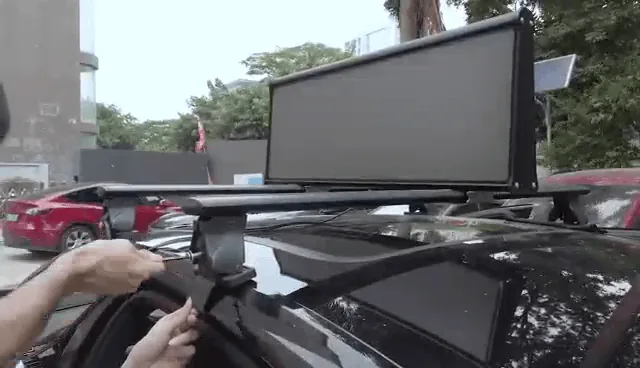
- Clean the roof rails or the mounting area. Remove wax, dirt and any silicone residue.
- Dry-fit the rack. Check clearance for the tailgate, sunroof and any antenna before you commit.
- Centre the unit on the roof, front to back and side to side, then mark the fixing points.
- Fit and tighten every bracket bolt. Use thread-locker on the bolts — road vibration will back off untreated fasteners.
- Route the harness down a pillar, away from door seals and moving parts, and secure it with cable ties every 20–30 cm.
- Position the 4G antenna where it has a clear view of the sky and is not lying flat against metal.
- Push and pull the unit by hand. If it moves at all against the rack, it is not tight enough.
08Wire to the Vehicle
Connect it to permanent power, fused, and confirm it with the multimeter rather than by eye.
- Disconnect the vehicle battery's negative terminal before you touch the wiring.
- Run the supply wire to a constant 12 V source. Do not use a switched accessory circuit, or the screen will only run while the engine is on.
- Fit the inline fuse at the rating printed on the unit's rating label or listed in its spec sheet. Do not up-rate it.
- Make a clean ground to bare metal on the chassis. Scrape off paint at the contact point.
- Crimp every joint properly and insulate it. Twisted-and-taped joints heat up and fail.
- Reconnect the battery and measure voltage at the unit with the engine off and again with it running.
- Power the screen on and watch it for a few minutes with the engine idling.
09Verify on the Platform
The install is finished when the vehicle appears online and plays something you sent it.
- Log in at vehhub.top and open Vehicle → Vehicle Control.
- Find the new controller under Ungrouped. A newly bound screen only ever shows up there first.
- Tick it and use Change Group to move it into a real group. Until you do, it plays only the factory logo and it counts as zero on the dashboard.
- Open Taxi Information and fill in the licence plate, driver name, phone and alias. This is what makes the vehicle findable later.
- Run a Realtime Screenshot to confirm what is actually on the panel.
- Check More → Hardware Status (password 888) for temperature, humidity, card voltage and door status.
- Open Map and confirm the vehicle icon is yellow. A grey icon means GPS is not being received.
- Publish one short test ad to the group and confirm it plays.
Full details on groups, ads, brightness, schedules and play logs are in the Rooftop CMS manual, and the same tasks are demonstrated on video in Rooftop CMS videos.
10Content That Will Play
Worth knowing on install day, because a test ad that will not play looks exactly like a broken screen.
| Item | Rule |
|---|---|
| Image formats | PNG, JPG and GIF. |
| Video formats | MP4 and 3GP only. |
| Video encoding | Divx, Xvid or AVC/H.264. Other encodings may refuse to play — convert first. |
| Video size | Stay in the 320p to 720p range. Anything larger than 1280 wide or 1080 tall can cause playback errors. |
| Colour mode | Pictures must be RGB. A CMYK file shows as a black screen. |
If a file is in the wrong format, the video format conversion guide walks through re-encoding it.
11Troubleshooting
The failures we see most often, and what to check first.
| Symptom | What to check |
|---|---|
| Nothing lights up after install | Fuse blown, supply wire not on constant 12 V, or a loose terminal at the battery. Disconnect power for 30 seconds and reconnect to reset. |
| Screen only works with the engine running | You are on a switched accessory circuit. Move the supply wire to a constant 12 V source. |
| LedOK cannot find the controller | Stand closer, use the LAN cable, turn off firewall and antivirus, and confirm the unit is powered and playing. |
| Binding fails | Open Check APK. If xixunplayer is still installed, uninstall it, install taxiapp, then bind the .ic file again. |
| "no checked sim card" | Power the unit off, reseat the SIM, power on. |
| "Lock status, need user's pin code" | The SIM is still locked. Activate and unlock it in a phone first. |
| "Not in service area", signal strength normal | Try a different operator's SIM. Swap it with the screen powered off, then bind again. |
| "Not in service area", signal strength is a run of numbers | Check the 4G antenna is connected and tight. Move the unit outdoors or higher. |
| Connects but drops constantly | Weak signal. Reposition the antenna away from metal and re-test outdoors. |
| Vehicle shows offline but is out working | Check the SIM data plan, then restart the controller and give it two or three minutes. |
| Ad stuck at pending | Vehicle offline or on a weak signal, or the file is too large. Shrink the file and republish. |
| Screen rattles or shakes while driving | Bracket bolts have loosened. Park, re-tighten everything, and use thread-locker. |
| Uploaded video will not play | Re-encode to MP4 H.264 within the size limits above and confirm the file plays on your own computer. |
12Common Questions
How long does one install take?
Plan a full morning for your first one. Once you have done a few, the bench and software work runs about 30 to 45 minutes and the roof and wiring work about an hour, assuming the SIM is already activated and you know the APN.
Do I need a professional installer?
One person with basic hand tools and some 12 V wiring experience can do it. Fleets usually hire an installer anyway, for consistency across vehicles and for a single point of accountability on the wiring.
Can I do the software setup after mounting the screen?
You can, but do not. Uninstalling the old player app, installing taxiapp and binding the certificate all want a stable laptop connection and mains power. Both are easy at a bench and awkward on a roof.
Does the screen need Wi-Fi?
No. In service it runs on the 4G SIM. Wi-Fi and the LAN port are only used during setup, to reach the controller from a laptop.
What if I get the APN wrong?
The device will look fine locally and never come online on the platform. Re-open Terminal Control → Network Config, correct the APN, click Set, and re-run the cellular status check.
Can I run more than one screen on one account?
Yes. Bind each controller with the same .ic certificate, then sort them into groups on the platform. Groups are how ads get targeted, so set them up before the fleet grows.
Who owns the content after install?
You do. If you would rather not run the scheduling yourself, we do it for you — see managed digital signage. Hardware details are on the rooftop LED product page.
Stuck? We'll sort it out.
Email us a photo of the wiring or a short video of what the screen is doing — it's usually all we need to diagnose the issue on the first reply.
If a setup ever needs hands-on help, we can go through LedOK Express with you on your own computer using UltraViewer. Rarely needed - noted here only so you know the option exists.